If you want to learn how to install shutters to vinyl siding, you’re in the right place. Shutters are panels that sit beside your windows. They can be made of vinyl, wood, or metal. Vinyl siding is the plastic-like covering you see on many homes. It protects walls from rain, wind, and sun. When you add shutters to these walls, you give your home a fresh, classic look. Shutters also help block strong sunlight and boost curb appeal. At Blinds Crafter, we show simple steps anyone can follow. You don’t need to be an expert to get the job done right.
Exterior shutters come in many shapes and sizes. Some are fixed and never move. Others swing open or closed. Vinyl shutters are light, weatherproof, and easy to care for. Vinyl siding makes it easy to mount shutters because you can use special anchors that grip the siding without drilling into the wall itself. In this guide, we’ll walk through each phase from picking the right shutter style to keeping them in good shape. Let’s begin our journey to a more beautiful home.
Why Add Shutters To Your Home? Key Benefits
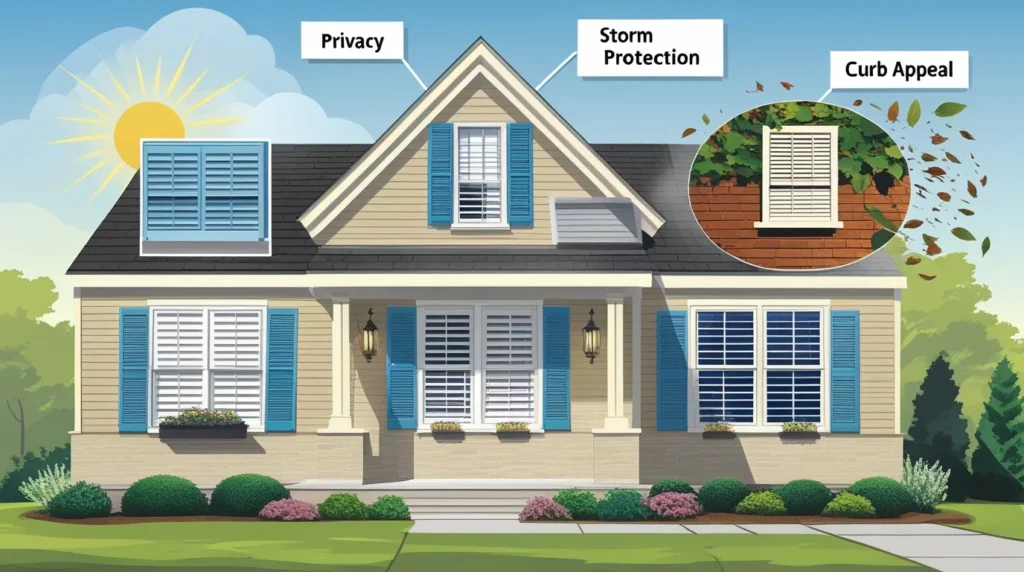
Adding shutters to your home brings both function and beauty. First, shutters help control the amount of sun that enters a room. When it’s very bright or hot outside, you can close them to keep your home cool. Second, shutters add a layer of privacy. You can adjust them so people can’t see inside, but you can still see out. Third, shutters protect your windows during storms. Strong winds and flying debris may damage the glass, but sturdy shutters can stand in the way.
Shutters can also boost your home’s value. A house with well-mounted, clean shutters looks cared for and inviting. Real estate agents often say that curb appeal matters most when selling a home. Shutters give that classic look buyers love. Plus, shutters are available in many colors and styles. You can match them to your front door, trim, or brick. Finally, shutters are low-maintenance. Vinyl shutters resist fading and chipping. A simple wash with soap and water now and then keeps them looking new. For these reasons, shutters for vinyl siding are a smart choice.
Shutters For Vinyl Siding: Finding The Perfect Style
When you choose shutters for vinyl siding, think about your home’s design. Do you have a brick façade, a stone base, or plain siding? Vinyl shutters come in many designs: raised panel, louvered (slatted), and board-and-batten. Raised panel shutters look flat with a framed border. Louvered shutters have angled slats that mimic window blinds. Board-and-batten shutters use vertical boards held together by horizontal strips. Each style gives a different feel: modern, traditional, or rustic.
Next, pick a color that complements your siding and trim. White shutters on light siding give a clean, coastal look. Dark green or black shutters on pale walls make a bold statement. Many vinyl shutters feature two-tone options, where the frame and panels are different colors. This adds depth and interest. If you’re not sure which style fits best, hold up a sample shutter next to your home. You can also use a free online design tool to “try on” colors and styles. Remember, shutters are a long-term upgrade. Pick a style and color you can live with for many years.
Essential Tools And Materials Before You Begin
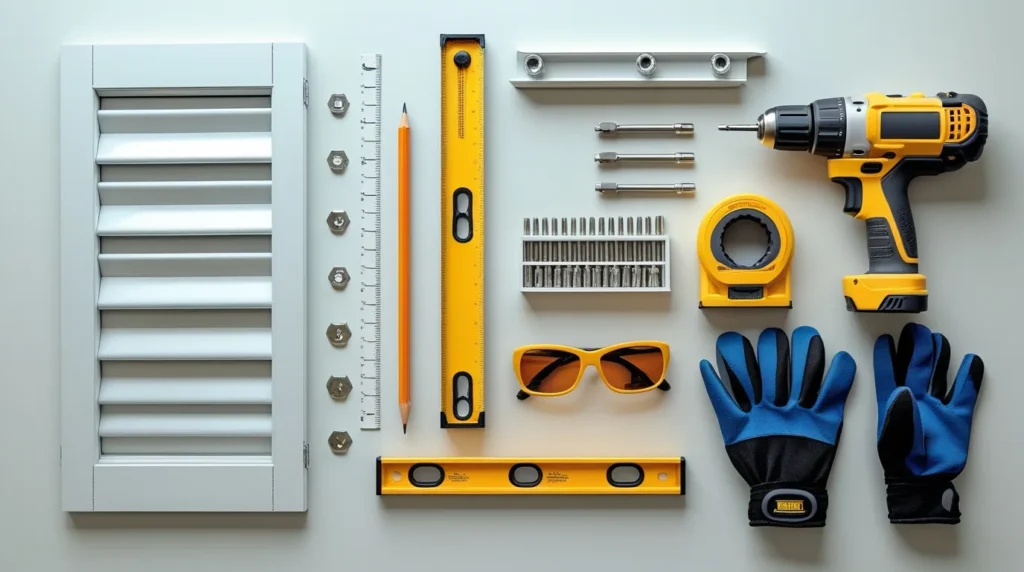
Before you start mounting shutters on vinyl siding, gather your tools and materials. This saves time and keeps you safe. You will need:
- Vinyl shutters: The right size for each window.
- Siding shutter mounting clips or toggle bolts: These attach to siding without drilling into the wood underneath.
- Tape measure: To mark exact shutter placement.
- Pencil: For light marks on the siding.
- Level: To keep the shutters straight.
- Drill with driver bits: To insert screws or anchors.
- Safety glasses: To protect your eyes from debris.
- Gloves: To keep hands safe and clean.
Optional but helpful: a ladder for higher windows and a magnetic bit holder to keep bits handy. Always check your shutter kit instructions. Some brands include special screws or spacers. Using the right hardware makes hanging shutters on vinyl siding much easier. Lay everything out in one place so you don’t have to stop and hunt for a tool halfway through.
How To Install Shutters To Vinyl Siding: A Step-by-Step Guide
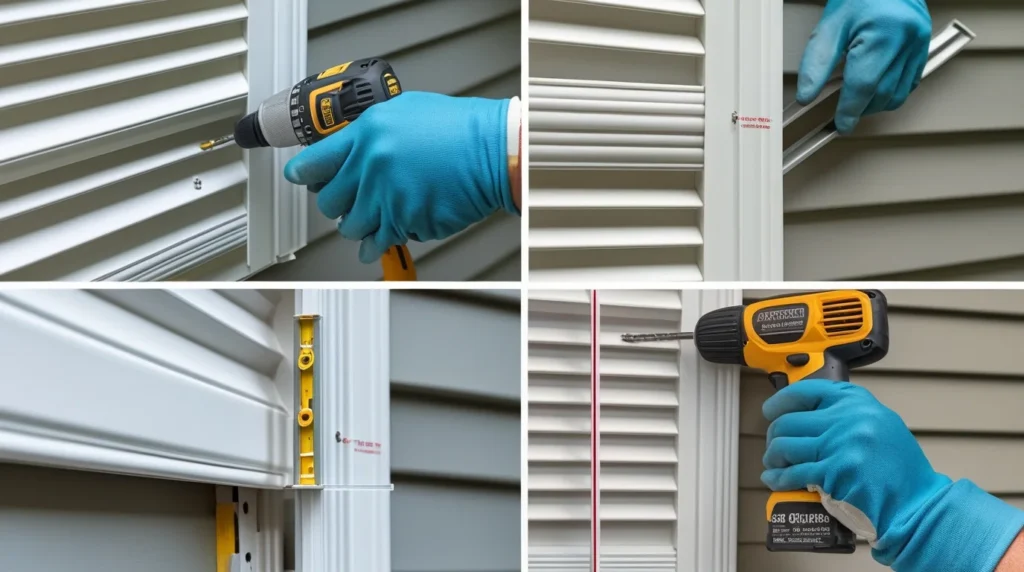
- Measure and mark: Place the shutter beside the window. Use your level to make sure it sits straight. Mark the top and bottom screw holes with a pencil.
- Prep the siding: Gently pull back the siding panel at your mark. You may need a siding removal tool or a flat screwdriver.
- Insert the mounting clip: Slide the siding shutter mounting clip behind the siding. Push it up until it grips the rail of the siding.
- Drill pilot holes: Through the siding and clip, drill small pilot holes. This makes it easier to insert screws.
- Attach the clip: Drive the screw into the pilot hole. The clip should stay snug behind the siding.
- Line up the shutter: Hang the shutter on the clips. Check with your level again.
- Secure the shutter: Insert the shutter screws into the clips, tightening until firm. Don’t overtighten, you don’t want to crack the shutter.
- Repeat for each clip: Most full-height shutters use two or three clips. Make sure each clip is aligned.
- Test: Tug gently on the shutter to ensure it won’t come loose in wind or rain.
This process works for most vinyl siding shutters. For board-and-batten styles, you may need additional spacers to match the shutter thickness. Always read your shutter kit guide.
Mounting Shutters On Vinyl Siding Securely: Pro Tips
- Use the right clips: Standard siding clips won’t work. Buy clips made for vinyl siding shutters.
- Back out the siding panel slowly: Vinyl can crack if you pull too hard. Work one inch at a time.
- Pre-drill pilot holes: A small pilot hole prevents splitting the siding or shutter.
- Keep screws straight: Drive them in at a right angle to avoid stripping or tilting.
- Check alignment often: Use the level after each clip. A slight tilt early on can throw off the whole shutter.
- Seal if needed: For a waterproof finish, add a small bead of clear silicone around screw heads. This keeps water from getting behind the siding.
- Mind the gap: Leave a tiny gap (1/16 inch) between the shutter and siding. Vinyl expands in heat, so it needs room to move.
Following these pro tips will keep your shutters tight and straight for years.
Common Mistakes When Installing Shutters On Vinyl Siding
- Wrong hardware: Using regular siding nails or screws can pull out in wind. Always use vinyl siding shutter clips.
- Skipping the level check: Even a 1/4-inch tilt shows up from the street. Take time to level each shutter.
- Over-tightening screws: This can crack the shutter or strip the clip. Tighten until snug, not rock hard.
- Pushing siding too far: If you remove too much siding, it may not lock back into place. Pull back just enough to insert the clip.
- Ignoring expansion gaps: Vinyl siding and shutters expand with heat. Without a small gap, shutters may warp or bow.
- Not pre-drilling: This causes splitting and makes driving screws harder.
By avoiding these pitfalls, you’ll have strong, straight shutters that last.
Hanging Shutters On Vinyl Siding: Best Practices
- Plan your layout: Measure the width of the shutter plus the gap on each side. Mark where each clip goes.
- Use two people: One holds the shutter in place while the other secures the clips. This keeps shutters from slipping.
- Work in dry weather: Never install when siding is wet or extremely cold it can be brittle.
- Protect your siding: Don’t step on the siding with heavy boots. Stand on boards or use a ladder.
- Clean before you start: Wash the siding around the windows so no dirt or grime gets trapped under the shutter.
- Label your shutters: If you have many windows, mark each shutter with a number to match the window. This saves time and confusion.
These simple practices make hanging shutters on vinyl siding an easy weekend project.
How To Attach Vinyl Shutters To Vinyl Siding Around Windows
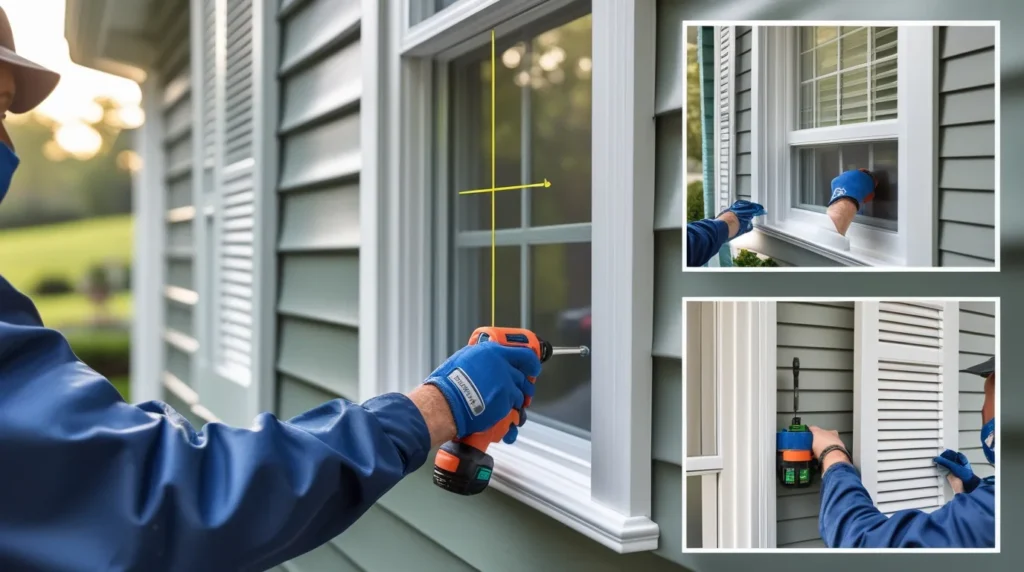
Attaching shutters close to the window frame needs extra care. First, measure from the window edge out to where the shutter will sit. Use your level to draw a light line on the siding. Place your top mounting clip on this line. Insert the clip behind the siding lip and fasten it with a screw. Next, hold the shutter up to the clip and drop it into place. Make sure the shutter edge is flush with the window trim. Add the bottom clip in the same way, checking the level again. If your shutters are long, add a middle clip for extra support. This stops the shutter from bowing in the wind. Finally, tighten all screws just until they hold. Test by gently pulling the shutter forward. It should stay firm without wobbling.
Maintenance Tips for Vinyl Siding Shutters in Saddle River, NJ
Blinds Crafter recommends that vinyl siding shutters need very little care. In rainy or snowy areas like Saddle River, NJ, a quick rinse every few months keeps them bright. Use a garden hose on low pressure. If you see dirt or pollen, mix warm water with mild dish soap and scrub with a soft cloth. For tougher spots, a soft brush works too. Rinse well so no soap is left behind. Check your shutter clips once a year. Tighten any loose screws and look for cracks. If a clip shows wear, replace it to keep the shutter secure. In winter, don’t use sharp tools to clear ice off your shutters. Instead, let ice melt naturally or use a plastic scraper. With these steps from Blinds Crafter, your siding shutters will look new for years.
Enhancing Curb Appeal With Siding Shutters: Final Thoughts
Adding shutters to vinyl siding transforms a plain house into a home with charm. You get a neat, balanced look that stands out on the block. Well-mounted shutters frame each window, drawing the eye and adding depth. The right style and color create a welcoming feel that guests and passersby notice the care you put into your home. Vinyl shutters stay bright through sun, rain, and snow. With proper mounting techniques, pro tips, and regular care, your shutters will last decades. You’ll enjoy both the beauty and the practical benefits of cooler rooms, extra privacy, and storm protection.
When you follow the clear steps here, measuring, using the right clips, and avoiding common mistakes, you can achieve a professional look yourself. Vinyl siding shutters give your home a classic edge at a lower cost than wood. They resist fading and need very little upkeep. Whether you’re a first-time DIYer or you’ve hung shutters before, this guide makes the work easy. You’ll gain new skills and a fresh, stylish home exterior that lasts.


